How to properly measure a room before ordering refrigeration devices.
Oct 14, 2022
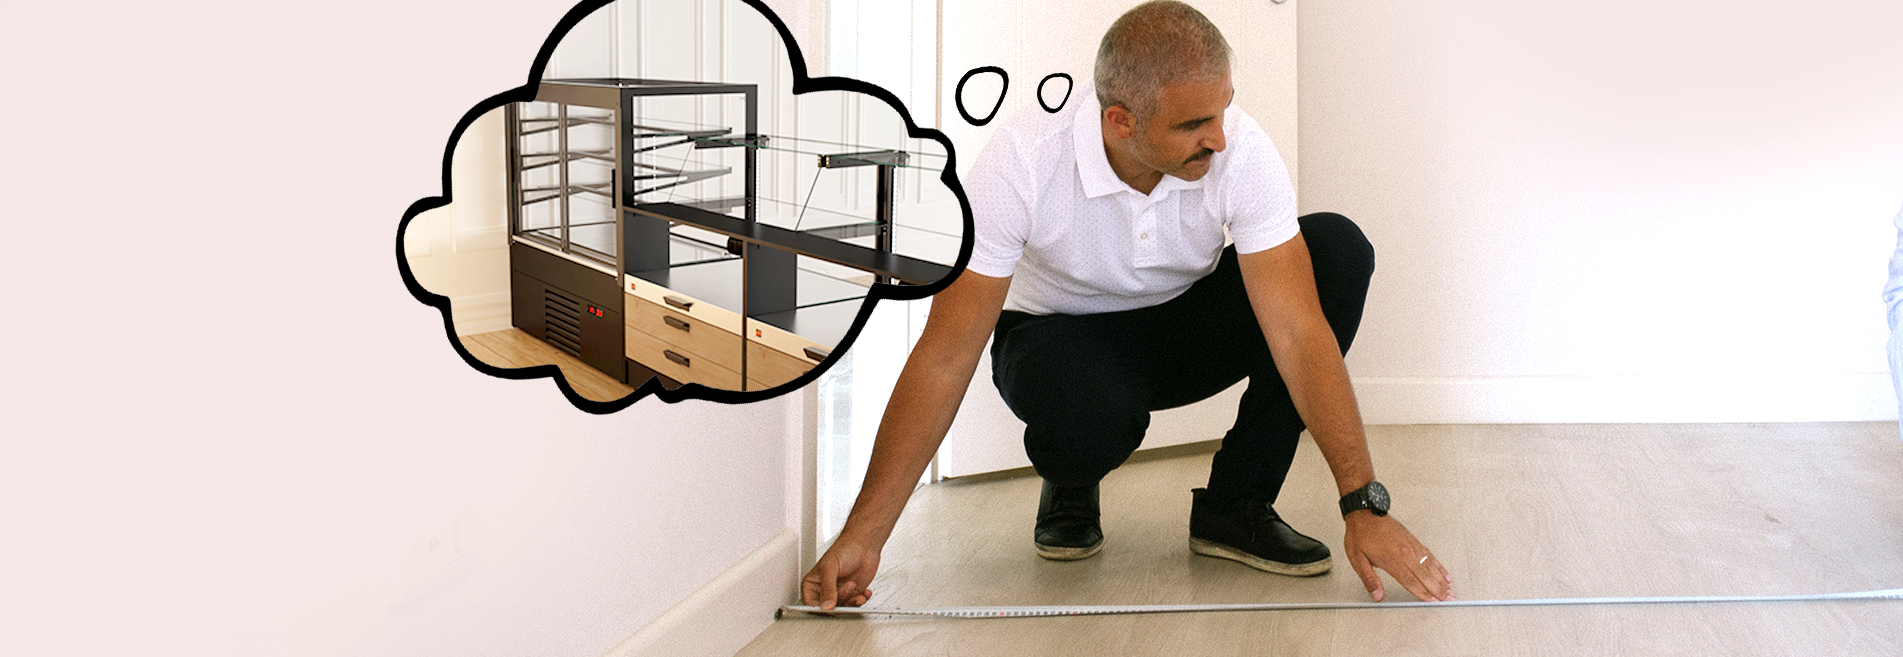
Ordering and purchasing RAPA refrigeration equipment is a very easy task: you determine what you need, find the right appliance on the website, adjust all the parameters in our configurator or contact our Customer Service Department, order and wait for delivery. Simple, right? Up to this stage, everything goes smoothly and without a hitch. Things get tough at... the stairs or in a too narrow door, and sometimes at the final destination after all the finishing work has been completed, when it turns out that the tiles on the wall have taken up precious centimetres and the device does not fit where you wanted to put it. Therefore, before you place your order, carry out a detailed measurement and visual inspection of your property to avoid unpleasant surprises. We suggest what to look out for!
The way to go
Even if you have a spacious hall that can accommodate dozens of RAPA devices, you need to remember that space for setting up counters or refrigerated cabinets is only half the battle. As these are delivered in their entirety and of considerable size, you need to take into account the entire route they will have to take from the delivery truck to their final destination..
Walk it and determine what difficulties you may encounter when bringing the equipment in.
1. First of all, it is important to check the unloading area. Find out if there are any restrictions for vehicles up to 12-16 tonnes and 11-13m length, and how close to the entrance of the premises you will be able to drive.
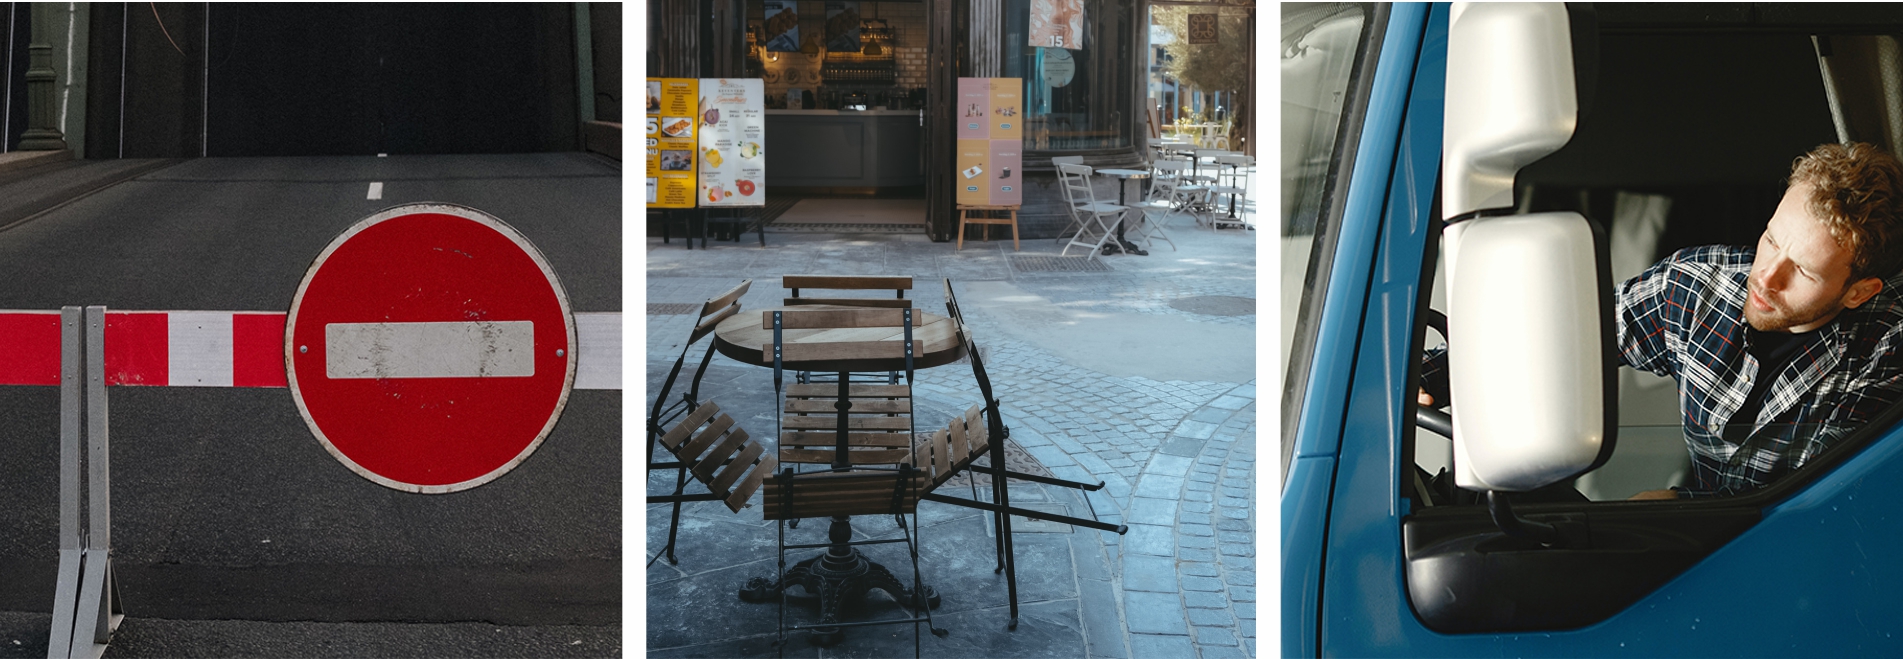
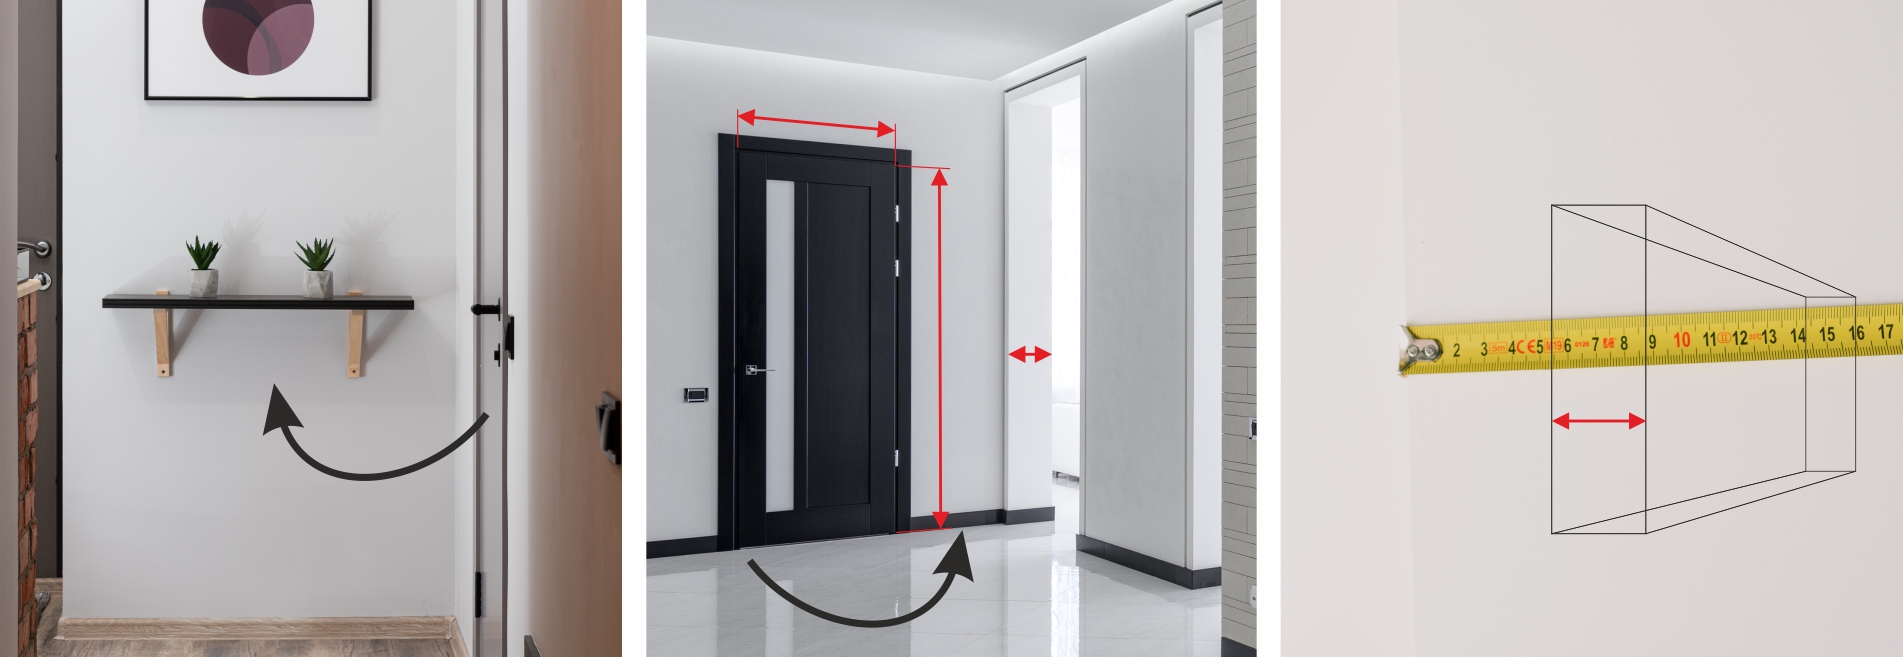
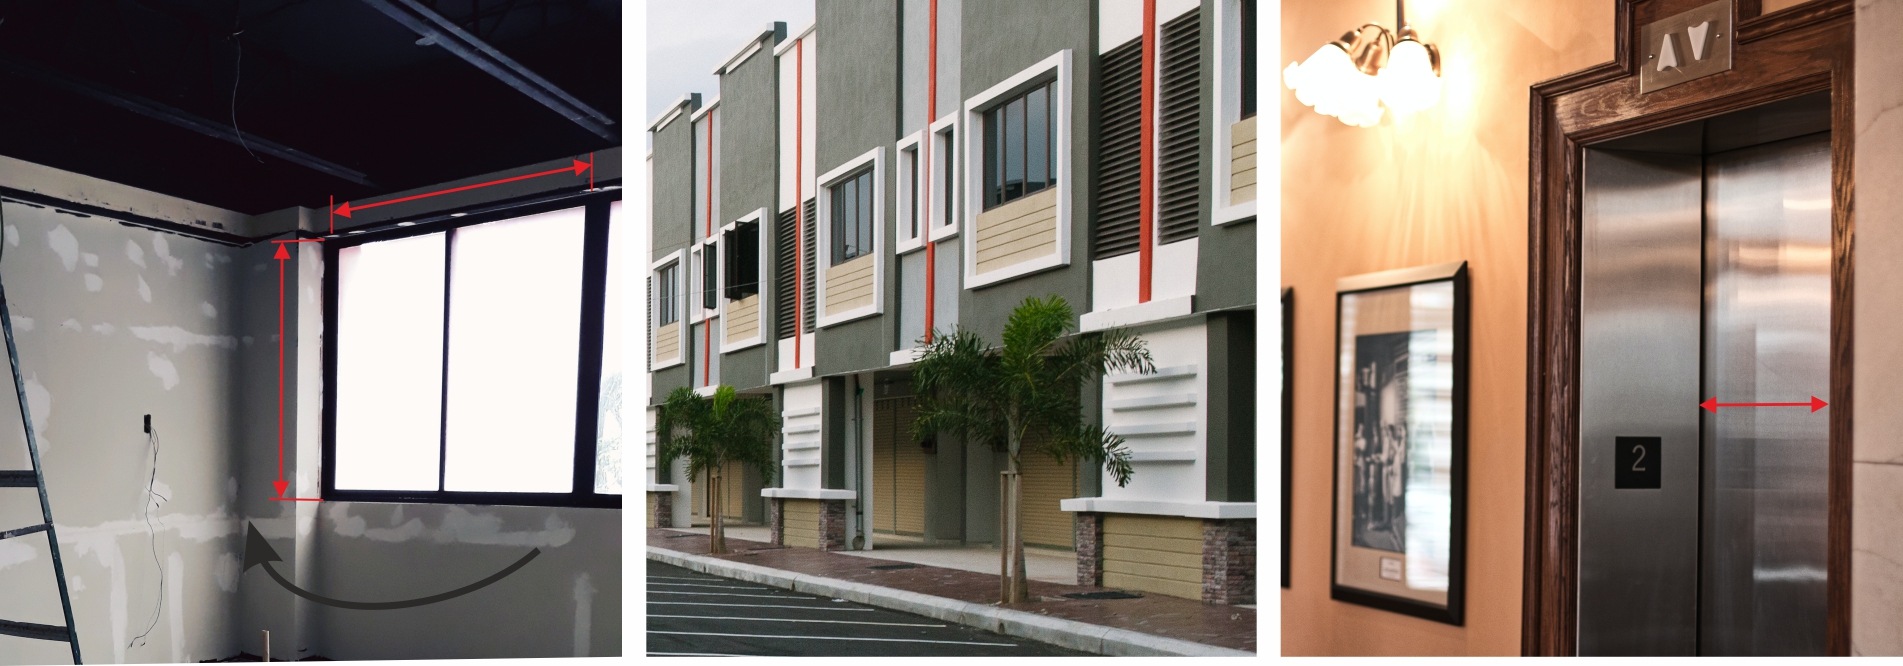
2. Carefully measure the clearance of the entrance door (height and width) and make sure it actually opens to what width, and that nothing is blocking it, such as a piece of furniture or architectural feature standing nearby. If they are double-leafed, is it possible to open both leaves, if they are sliding, do they extend all the way and is it possible to lock them when bringing in the device. Similarly, measure clearance of all the other doors through which the device will be carried.
3. It is also important to pay attention to the thickness of the walls! Sometimes if it is too big it can make it impossible to manoeuvre the device when moving it through the passage.
4. If you find that all the doors to the building are too narrow and the premises are located on the ground floor, you may want to consider bringing the devices through a window. Ensure that the window opening is spacious enough and that the window opens wide enough, or consider removing the window for the equipment to be brought in.
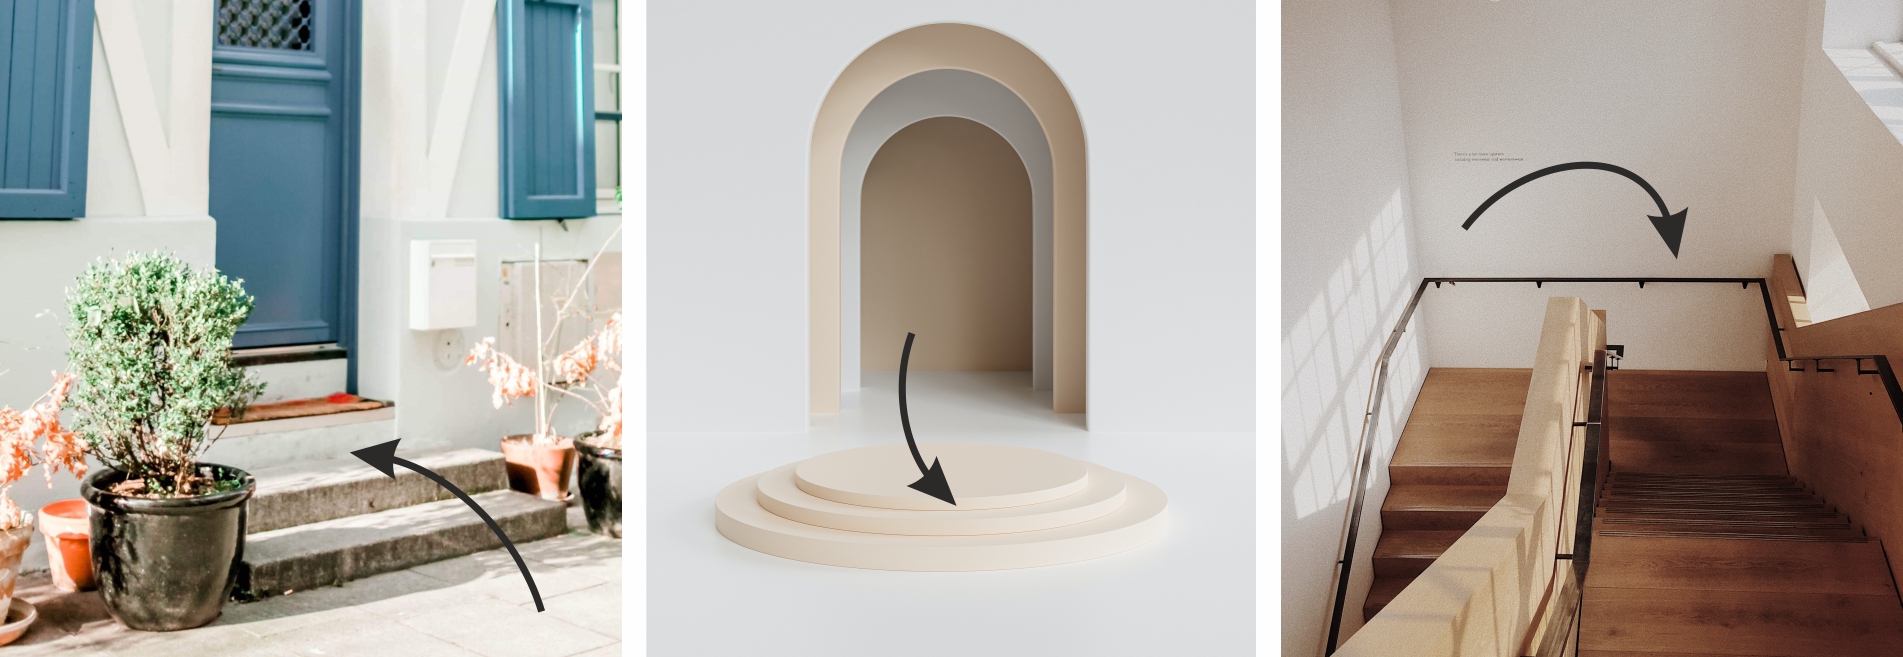
5. Next, pay attention to what level of the building the equipment is to be brought to - whether it is the ground floor, high ground floor, upper floor or basement - and how you can get there (is there a lift or will you need to carry up stairs).
6. If there is a lift, check the width, height and clearance of the door (exactly how far the door opens, as in many cases it may not open all the way) and the permissible load!
7. If you have to take the device up a flight of stairs, check the width of the stairs, whether they have a landing and a 180° turn, and how generous they are.
8. If there are walls, railings, pillars, protrusions, high thresholds, etc. along the route of transporting the device into the interior, it will be necessary to carefully measure the space around them to ensure that they will not be an obstacle when bringing the equipment in.
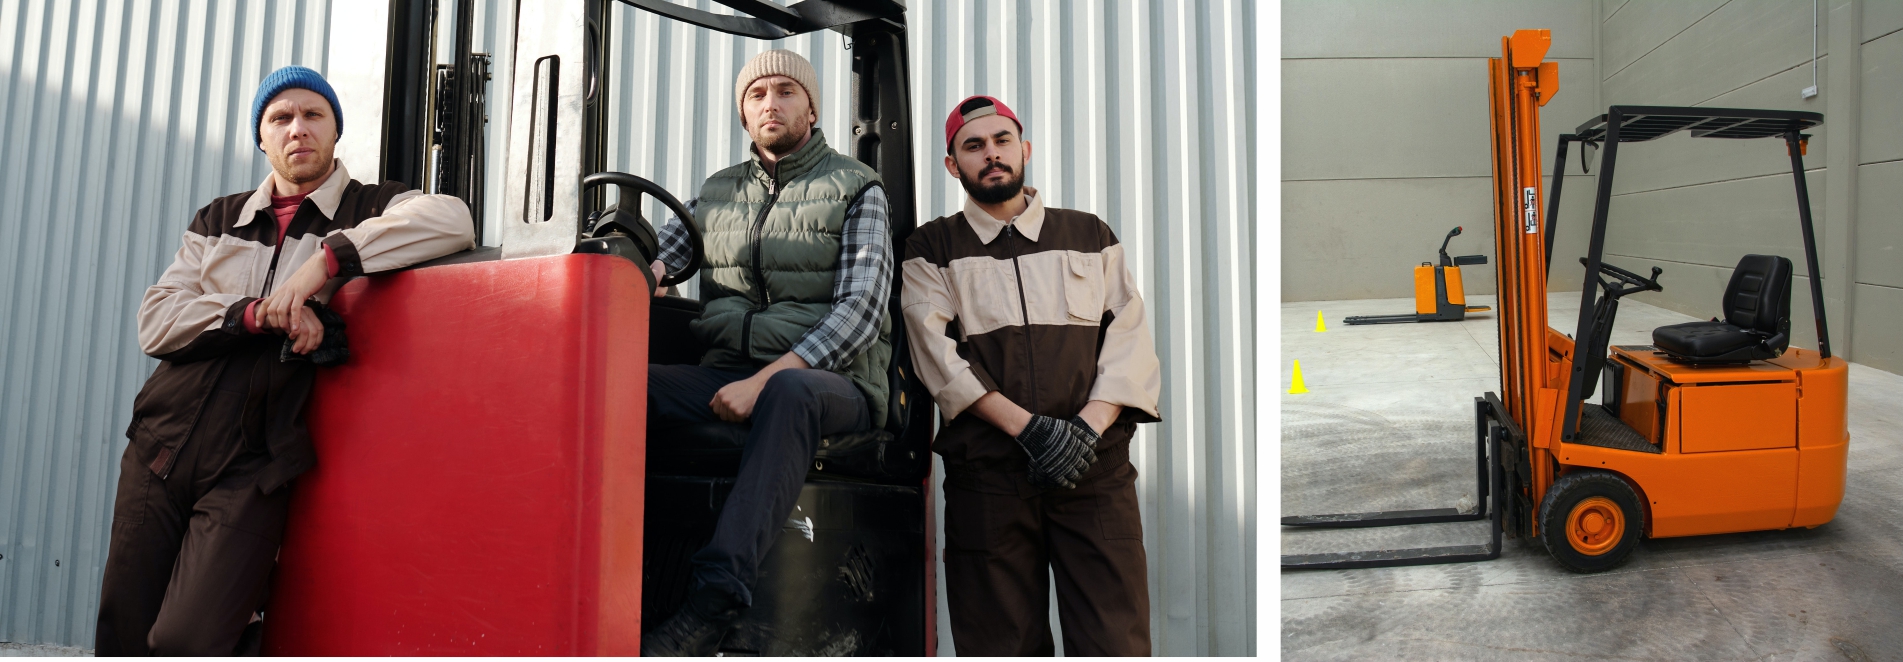
9. The last element to check is the possibility of driving a pallet truck inside. Are there any obstacles along the route that are impossible to overcome with a forklift - high thresholds, changes in the level of the room, or does the floor surface allow its use..
10. If for some reason it is not possible to use a pallet truck, make sure there are people present to help move the equipment. Bear in mind that the equipment is really heavy and that some models require 4 to 6 strong persons (the SiX counter weighs 300 kg) to safely lift and position the equipment.
Traps at the destination
The meticulous site inspection of the equipment's route is over. It is now time to look at the interior where you will set up the devices. Typically, refrigeration devices are not found in rooms singly, but are set up in smaller or larger refrigeration lines, with a variety of configurations, or are accompanied by neutral complementary furniture, creating a more extensive arrangement. What preliminary steps should be taken when planning the set-up and selecting the size and models of equipment?
1. Draw a general floor plan of the room. Mark on it all window and door openings, columns, pillars, pilasters, additional walls, flue pipes and other protruding elements.
2. Use a measure tape or rangefinder to measure the length of the walls. Measure each wall at least at two heights: at the floor and at the height of the top edge of the units you wish to order (you will find all the unit's dimensions on our website next to each model under Technical data). If the measurement differs by more than 1 cm, it is worth repeating whole operation. When the second measurement again shows discrepancies at different heights, it may mean that the wall is crooked. If this is the case, record a smaller result.
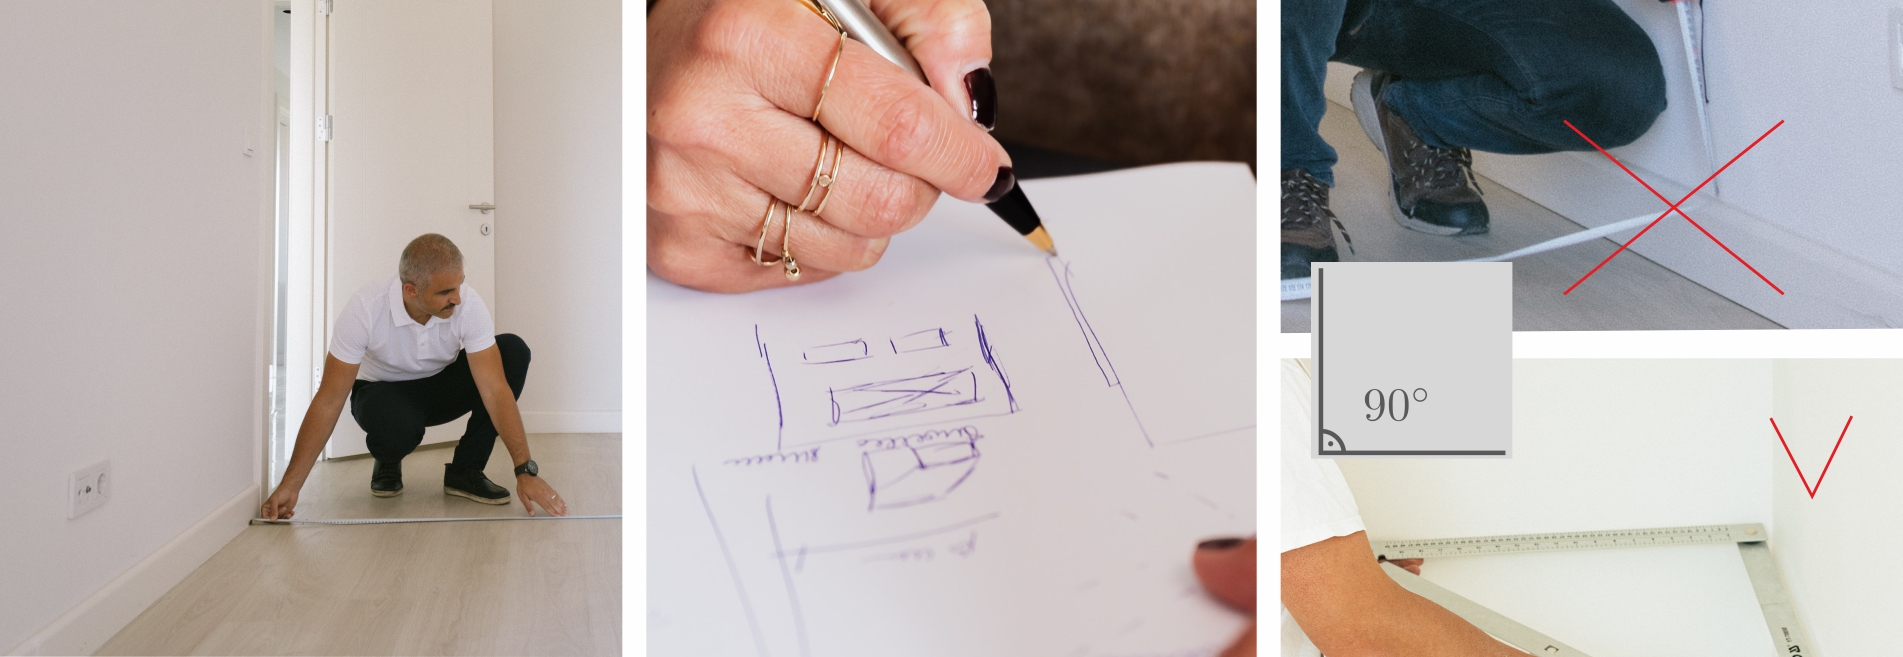
3. Measure all structural elements, door and window openings and the distances between them. Record the dimensions on the drawing. Also take into account radiators, window sills, fixed wall decorations, fitted lamps or skirting boards. Sometimes a 'small detail' like this can make the arrangement you have planned impossible!
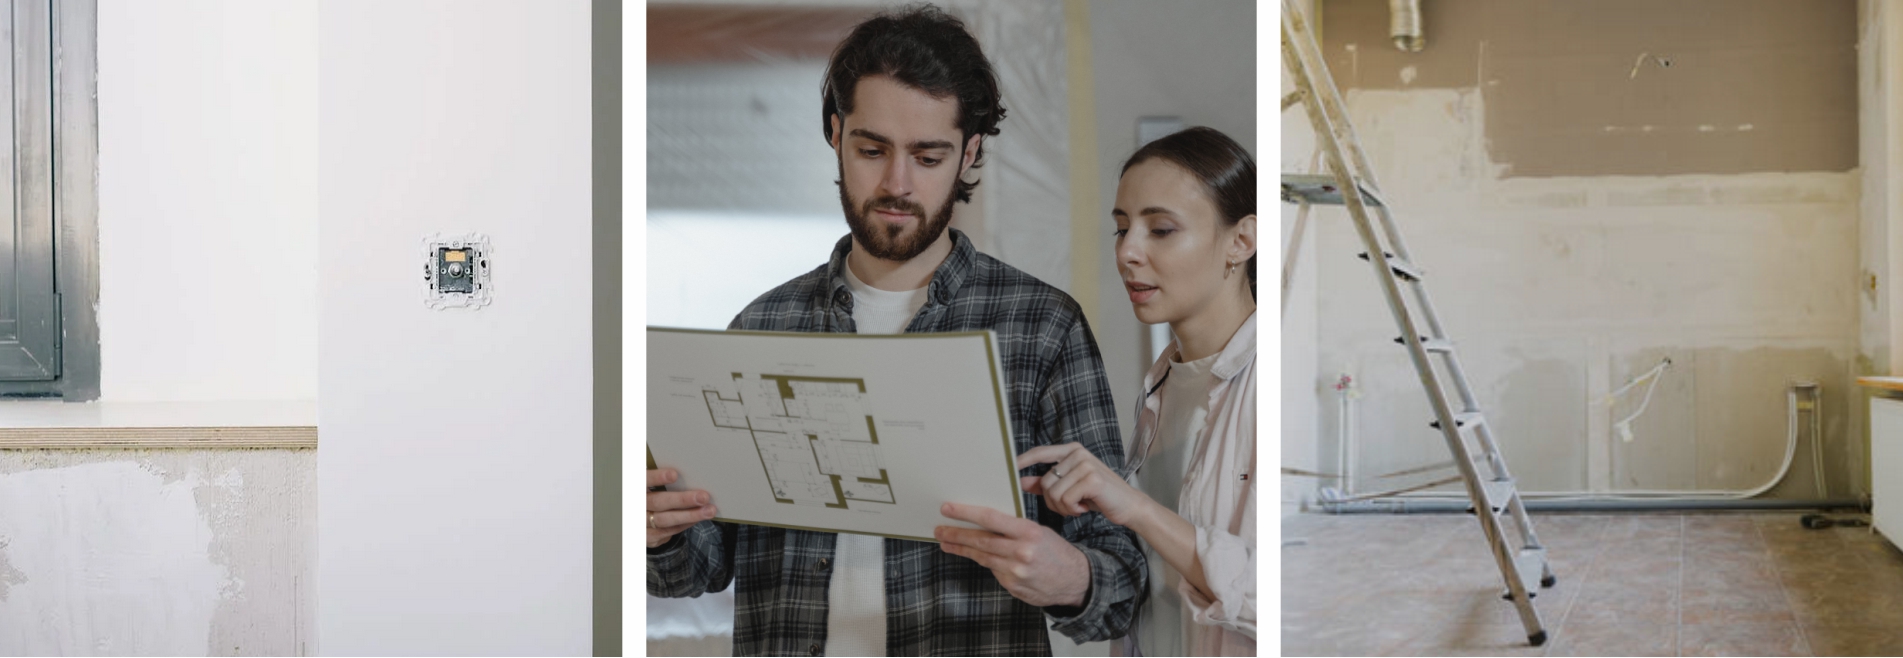
4. Mark on your plan the electrical sockets, light switches, ventilation grilles and the possible location of the condensation drain into the sewer system, and take these into account when planning the installation.
Final advices:
If, despite the drawings and instructions above, you're not sure what to measure and how to measure it, it's a good idea to record a video or take detailed photos of sensitive spaces and send them to our Customer Service Department at rapa@rapa.lublin.pl. We will suggest what to look for and which dimensions will be particularly important.